How to Repot an Indoor Plant: A Beginner’s Guide | The Potted Plant
- Harley

- Dec 15, 2020
- 6 min read
If you, like me, live with a collection of houseplants, you’ve probably encountered the term ‘repotting’ before. But what is repotting? Repotting is exactly what it sounds like: taking a plant out of its current pot and putting it into another. The new pot is usually bigger, but in some situations it may be smaller, or the same size (we’ll talk about this later!). While it may sound simple enough - and in most cases it is - there are some special considerations to think about when it comes time to do it.
Fortunately, I’m here to spill the beans (seeds?) with my beginner’s guide to repotting your houseplants.
When to repot your indoor plant
Before you get your gardening gloves dirty, make sure you’re repotting at the right time. As a rule of thumb, you should try and avoid repotting your plant in its dormant season, which runs from late autumn, through winter and into early spring. Don’t let that put you off, though - if it’s time it’s time, no matter the season 😊 Check out our top reasons for repotting below:
1. The roots have filled the pot (it’s ‘rootbound’)

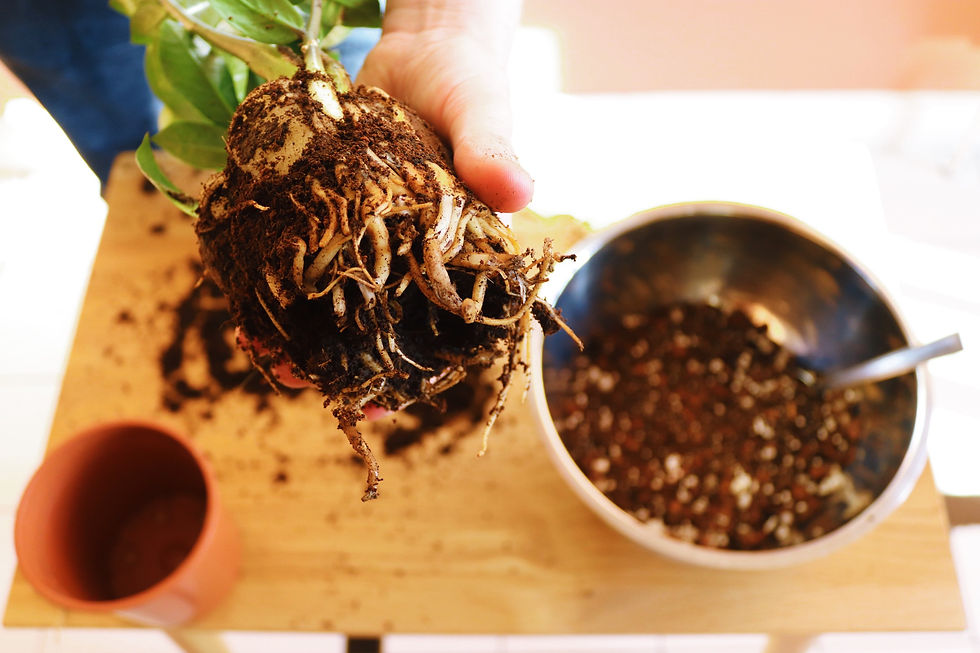
Keeping a plant contained in a pot means that eventually it’ll outgrow its home (or so you hope!). This is most obvious when roots are growing through the bottom of the pot, but it is also noticeable by dramatically slower growth during its growing season. The best way to find out is to gently pull the plant out of its pot and look at the roots. If the roots are matted and fill the pot, your plant is rootbound. If there is plenty of soil left in the pot and the roots aren’t yet wrapped around the rootball, you may want to consider waiting a little longer.
“If there is plenty of soil left in the pot and the roots aren’t yet wrapped around the rootball, you may want to consider waiting a little longer.”
It’s worth remembering that different species of plants grow at dramatically different rates. For example, a Monstera deliciosa will grow at a much faster pace than most Hoya species. Root size will also make an impact on how soon you need to repot; the thickness of roots depends on the natural habitat of each plant and so can vary wildly. Anthurium, for example, are epiphytes, which means they use their roots to anchor themselves onto trees. As such, their roots are thick and strong - which means they often need repotting every year or so. Succulents, on the other hand, often have shallow, delicate roots, and so may only need repotting every few years.
2. You’ve overwatered
It’s no secret that the number one killer of houseplants is overwatering. Lifting the watering can too often may come from a place of love and care, but it can harm your plants in the long term. The first sign of overwatering is usually yellowing leaves, or your plant looking generally sad and discoloured. If you suspect you may have overwatered, you’ll need to inspect the roots to check.
The first thing you may notice is a rotting smell - this is the most obvious giveaway, but it isn’t always there. The roots themselves may be brown, mushy and fragile. Healthy roots are usually white, and are always springy and firm. If you suspect root rot and the soil is still soggy, repotting it might prevent it spreading further.
3. Soil replacement
The sun isn’t the only way your plants harvest energy; they absorb nutrients from the soil via their roots, too. Over time, nutrients in the soil are used up, which means it will need to be enriched (with something like worm castings or compost) or, eventually, replaced so that your plant can absorb what it needs to be healthy. For this reason, it’s best to repot your plants with fresh soil every other year, even if they stay in the same pot.
“it’s best to repot your plants with fresh soil every other year, even if they stay in the same pot.”
How to repot your indoor plant - step by step:
Finding the right pot
Size is the most important factor when choosing your new pot, followed by material. In most situations you’ll want to go up by only 2-3” max. This is to prevent your plant’s roots being overwhelmed by soggy soil, which can cause root rot. If you’re repotting something small like a succulent or cactus in a 2/3/4 inch pot, you may only want to go up an inch in size. Terracotta pots are able to absorb water from the soil, so they give you a little extra leeway when picking a bigger pot. You need to be more careful when using plastic or glazed ceramic as they hold the water in.
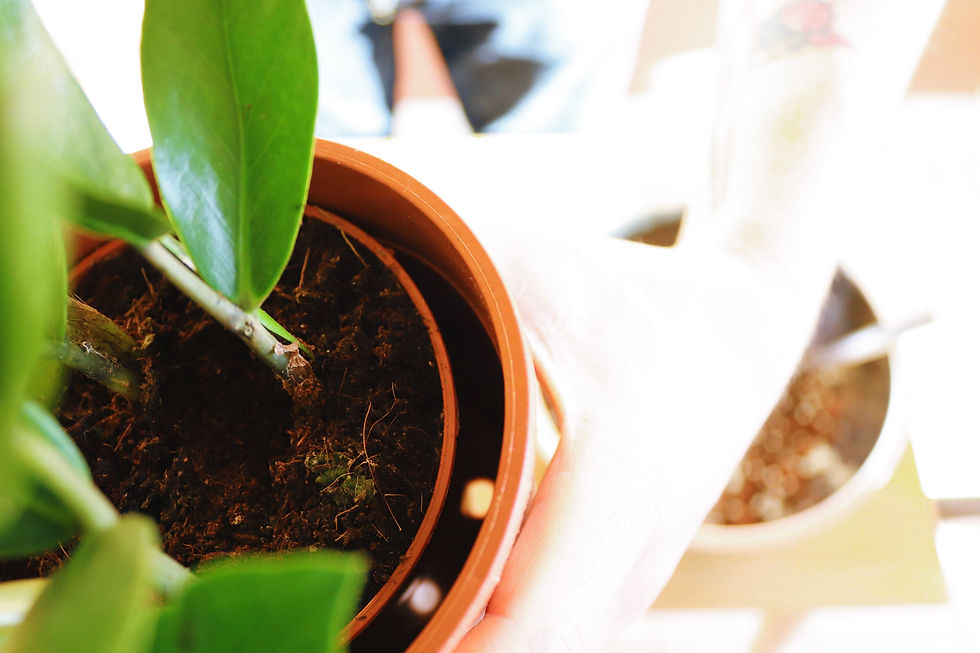
Okay, so you’ve found the perfect pot. First things first, make sure your new pot has a drainage hole. Why, you ask? 🤔 Every time you water, the water your soil can’t hold drains downwards through the magic of gravity. If there’s a hole, the excess water will simply escape through there - piece of cake. If there’s no hole, there’s nowhere for the water to escape, which means it’ll sit at the bottom of your pot, keeping your soil soggy and eventually making your plant very, very sad :(
I suppose you might be wondering why most indoor plant pots don’t have a drainage hole, if that’s truly the case? The lack of a hole is to protect the surface underneath (you don’t want your wooden coffee table getting wet!), and most indoor gardeners get around this quite easily by using an ‘inner’ pot and sliding this into a decorative ‘outer’ pot. This way you can take the inner pot out and drain the water, while enjoying the ✨ aesthetics ✨ of a unique planter.
Unpot your plant
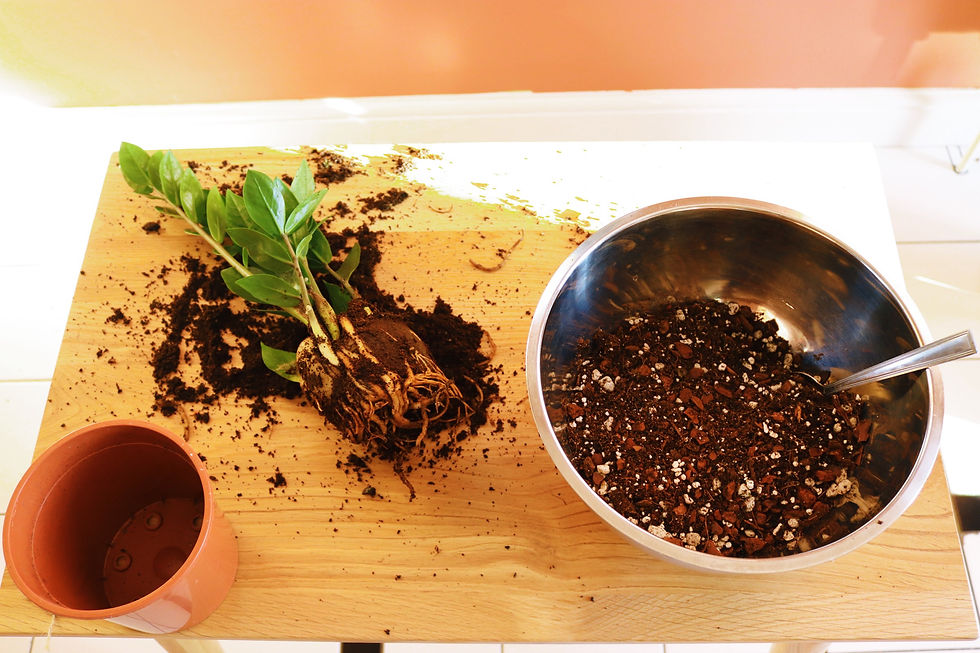
Tilt your pot at 90+ degrees and tap the bottom, giving the plant a few gentle tugs at the base of its stems or vines to help ease the plant out. If the plant is severely rootbound, you may need to be a little more forceful. Try not to damage the roots, but don’t worry if you do; the plant will recover just fine. If there is a lot of soil left in the bottom of the pot, consider if the roots need extra space in a bigger pot, or whether there’s still room to grow in there. There’s no harm in deciding to wait until later 😌
2. Remove old soil
You want your new plant to have healthy, replenished soil, so removing as much old soil as you can will help. The key here is to not damage or disturb the roots too much. It’s better to leave some soil and the roots intact than to cause unnecessary damage! There will likely be old soil deep in the root ball - it’s best to leave this be rather than dig into the plant’s delicate root system.
3. Pot her up
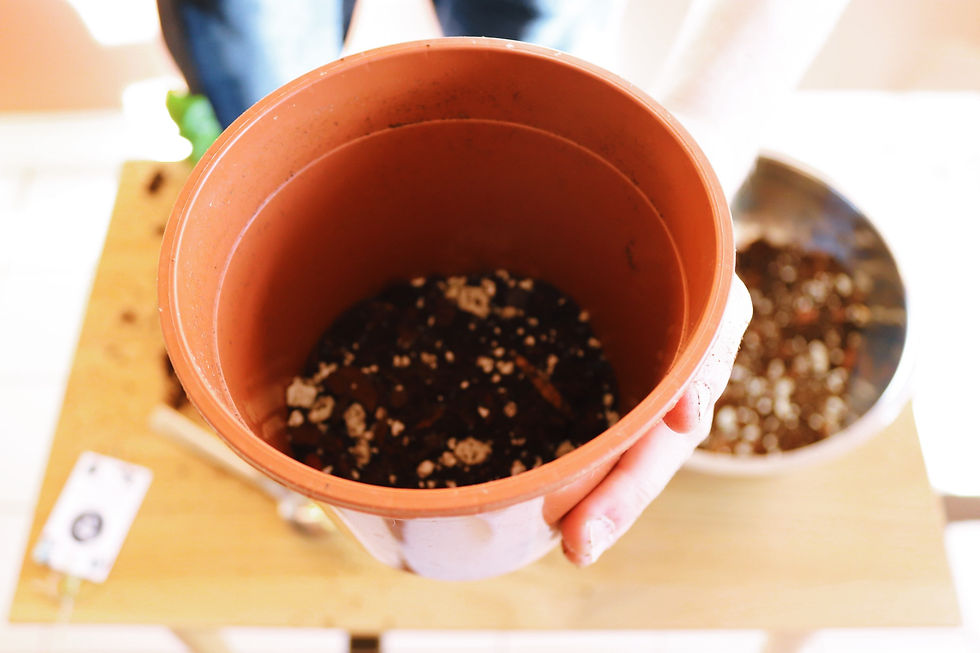
Put a couple of inches of fresh soil into the bottom of the new pot. Delicately place your plant into the pot, keeping it in place with one hand while you use a tool such as a small trowel (I like to use an old spoon!) to surround the root ball with soil. When placing the plant in the pot, think about where the soil will fill up to. At this point I’d add or take soil out of the bottom of the pot so the base of the plant is at the right level (usually a few inches from the lip of the pot).
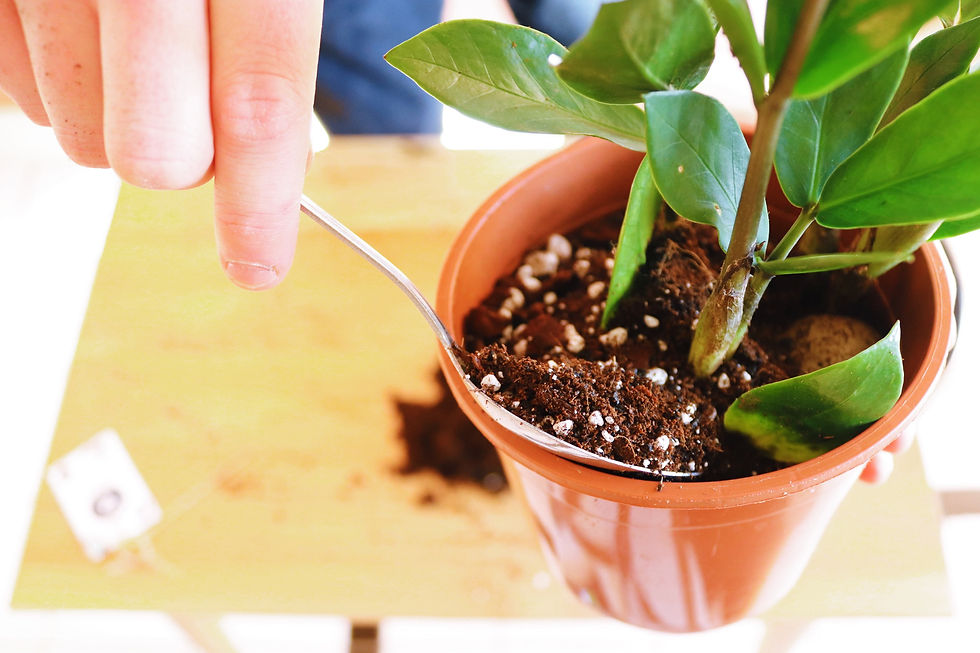
Once your plant is in place and the surrounding sides are filled with soil, I then use my fingers to work soil into the root ball properly. Of course you could achieve a similar effect with a small spoon if you don’t want to get your hands dirty!
4. Water thoroughly
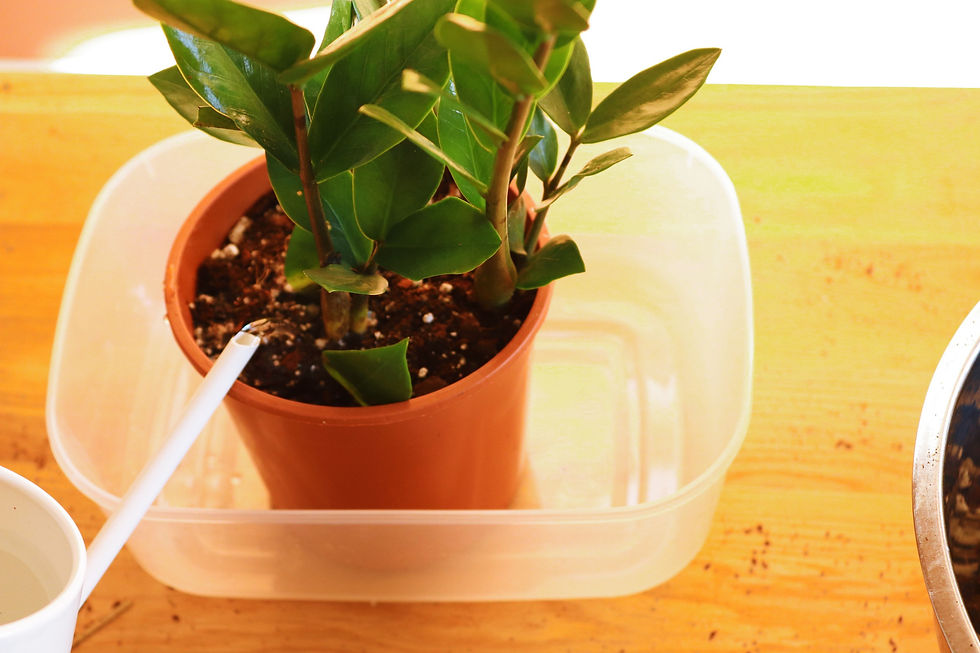
Once your plant is in place, water the soil all the way through, so that water runs out of the drainage hole. The soil will be more compact afterwards; I like to gently push downwards so that the plant is held firmly in place, and then break it up with my fingers so that air can circulate. You can then top it up with more soil, leaving some space at the top of the pot.
You can then place your freshly potted plant into its new home.
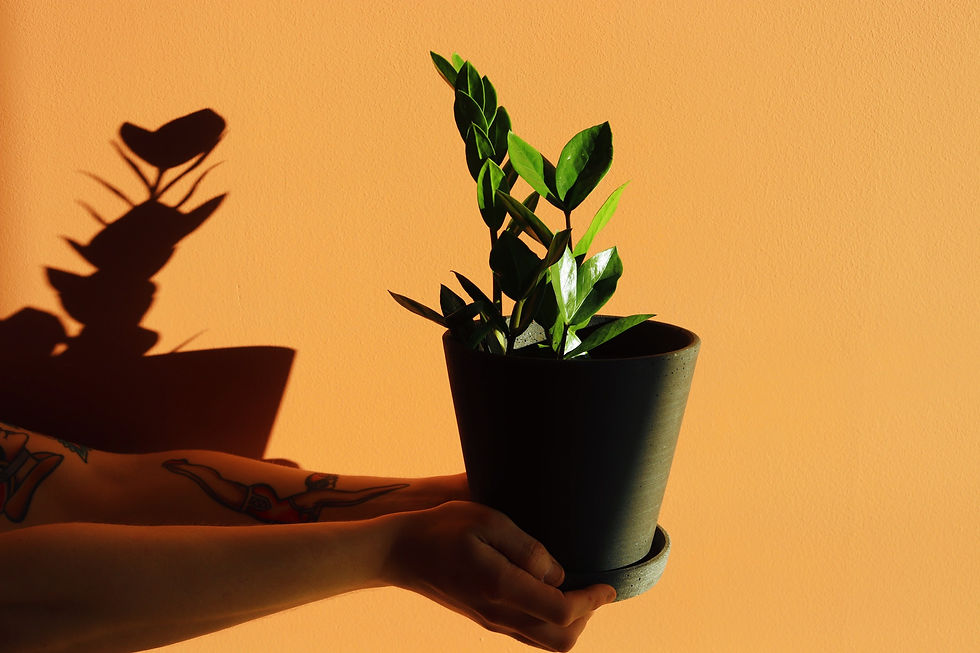
New considerations
So your plant buddy is potted up and you’re feeling pretty good about yourself - and you should! You’ve just mastered one of the fundamentals when it comes to plant parenting. Well done! 🙌 Here’s a few extra things to consider now you’ve repotted:
Most potting mixes already have fertiliser in them, so avoid fertilising right away. It’s usually written on the bag if this is the case
Your plant’s soil will take longer to dry out now that there’s more of it - adjust your watering schedule to avoid overwatering, especially if it's winter
Using the right soil is crucial for your plant’s health. I’m not ashamed to say that when I first began my journey with plants I used everything from outdoor compost to handfuls of garden soil 🙈 I highly recommend the potting mixes from Soil Ninja! Most other shop-bought potting mixes are okay, just make sure they’re designed for houseplants as outdoor potting mixes often hold too much moisture.
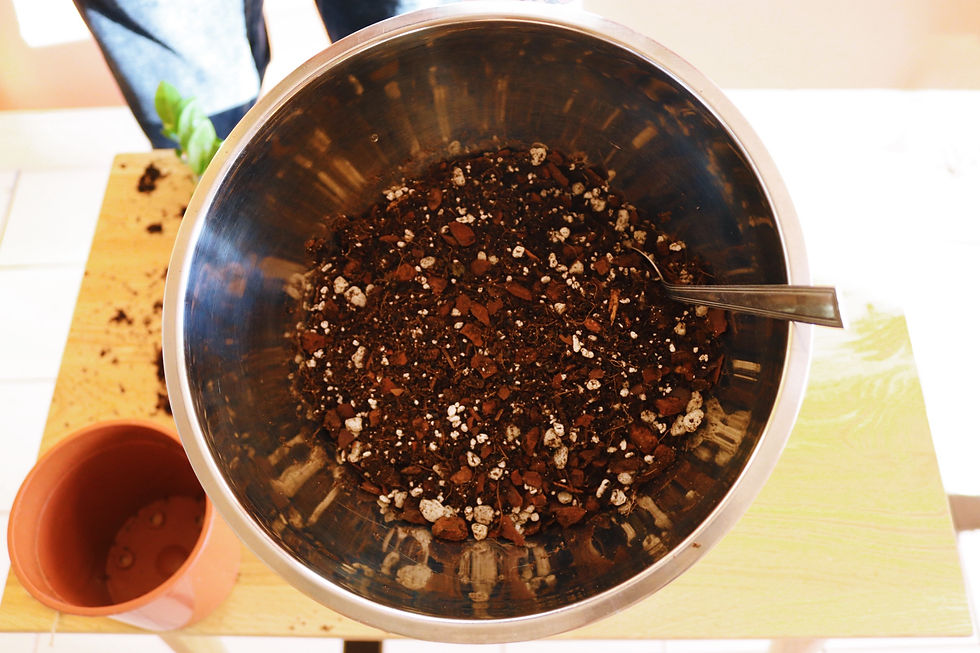
Cactus & succulent mixes offer even better drainage if you’re an overwaterer. Otherwise, you can amend regular compost with perlite, pumice, bark, coarse sand and/or vermiculite to provide the drainage potted plants need.
Thanks for reading and remember, I'm happy to help if you need it - simply shoot me a message!


Comments